How kelly-valves (drill stem valves) are maintained and serviced
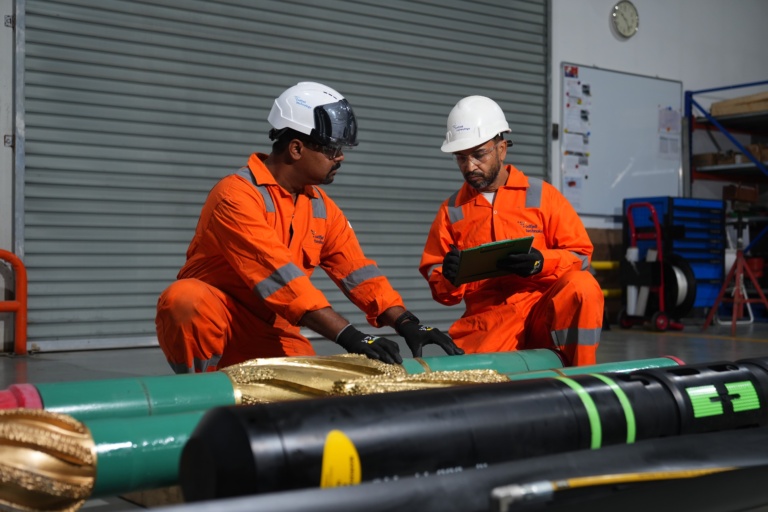
The kelly-valve is a type of drill stem valve used to prevent flow out of the drill pipe if a kick should occur during a tripping operation. In this post I will give you a “behind the scenes” look at how we maintain and service these small and friendly helpers in the drill string.
As a rental company we inspect, clean and test the valves every time they are returned to us from a rig. Before the next job, we need to make sure that the valve is in optimal condition. Just a few words about the valve before we start …
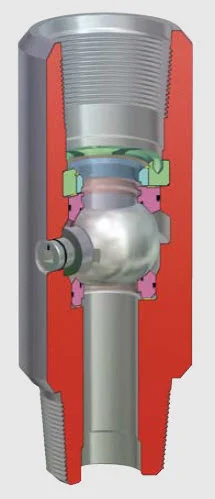
What is a kelly-valve?
The valve is placed in the top of drill string, right below the top drive. When abnormal situations occur and the pressure limit is exceeded, the driller can close the valve to stabilize the pressure and avert a potential kick.
The basic performance requirements of a kelly-valve are:
- Repeated operation in drilling mud
- Closing to shut off a mud flow from the drill string
- Sealing over the design range of temperature and tension load conditions
The device is named after the kelly drive, which was turning the drill string. As a side note, the “Dictionary of Petroleum Exploration, Drilling and Production” states that the kelly was named after Michael J. Kelly, a Chicago baseball player from the 1880s. He was known for his base running and long slides.
They even made a song about the baseball player called “Slide Kelly, Slide!”. As you probably know, “sliding” is what you do when you pass the kelly through the kelly bushing when you drill.
Today the kelly drive has given way to the more modern top drive.
> Read also: How to choose the right drill pipe
What we do with the kelly-valve
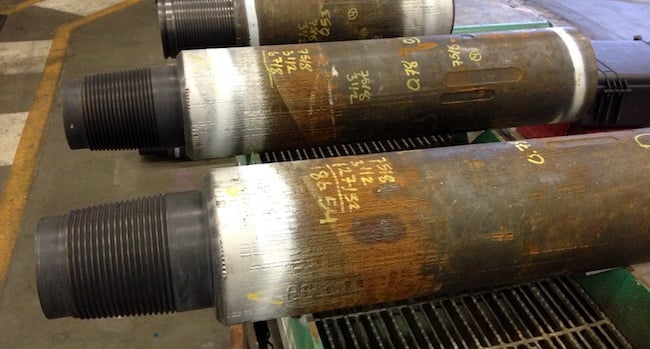
When we receive the valve in the yard we first high pressure clean it. Then we start disassembling it, while inspecting and cleaning each part by hand. We typically look for things like:
- Scratches in the ball or seats
- Pitting
- Washouts
All the internal parts are visually inspected and measured. We also replace all seals with a complete new seal-kit before re-assembling. If, for instance, the valve is going to be used in a Sour Gas Well, we insert gaskets that are resistant to H2S (Hydrogen Sulphide).
After that, we perform functional test and leak tests (a kind of pressure test) according to its class. The class is specified in the data book that comes with the valve:
- Class 1 – surface only
These valves are only tested upstream. That means you test it in the closed position from below (the pin-end) to verify that it holds pressure. The valve is tested at a low pressure (250 PSI) and at the maximum working pressure. - Class 2 – surface & down hole valves*
Class 2 valves are tested with the same procedures as class 1 valves, but both upstream and downstream. First by testing low pressure and working pressure upstream, and then testing downstream in the same manner.
*In some HPHT (High Pressure, High Temperature) wells valves are also placed in the part of the string that is down hole. The challenge here is that you can’t access the valve while down hole. This is usually solved by placing a valve in each stand, so the driller can operate the valve while tripping out.
After the leak test, the valve is dried with air and preserved (with light oil) to avoid corrosion while lying on stock in the yard or on the rig. That’s it! Now you know how a kelly-valve is maintained and serviced.
Topics: Drilling Equipment

By: Frode Bjørheim
Frode Bjørheim is a specialist in drill pipe standards and lifting equipments with more than 30 years’ experience in the oil & gas industry, both offshore and onshore.